Hiker’s Rescue Rope
(a.k.a. Toggle Rope / Commando Rope)
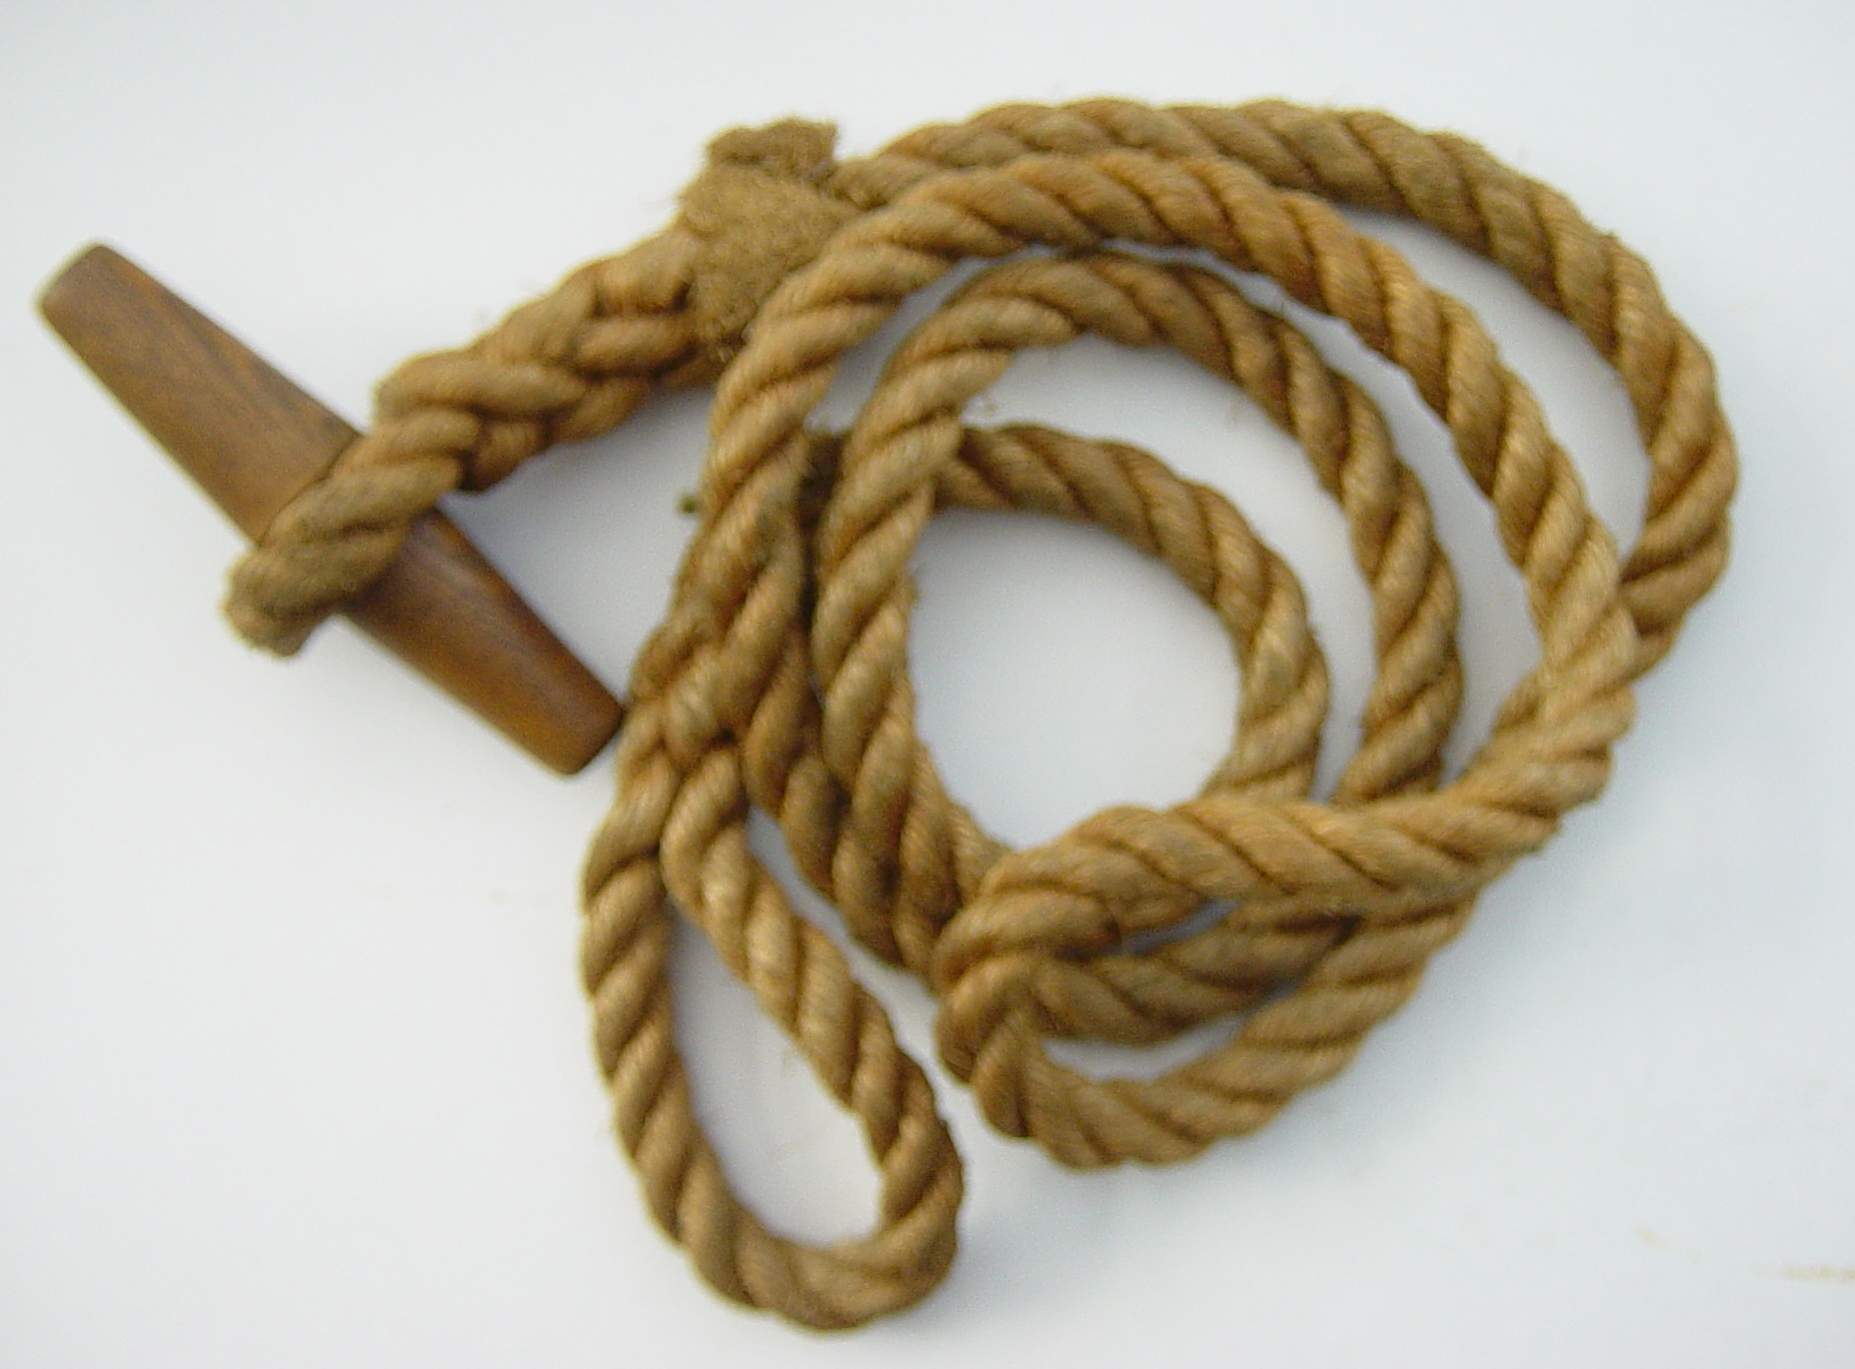
During World War II soldiers were issued a length of 1/2 inch rope approximately eight to ten feet long with a spliced-in wooden toggle at one end and a spliced eye at the other end. The concept is to insert the toggle of one rope into the eye of another rope thereby allowing any length of rope to be constructed quickly and simply without knots. It was nicknamed the Toggle Rope or Commando rope. See illustrations below.

Here is a Wikipedia listing
The Boy Scouts of America adopted the Toggle Rope in the 1940s as part of their toolset for Pioneering and general use. See Articles in Boy’s Life Magazine.
Boy’s Life Magazine, June 1947 – Buddy Rope (aka Toggle rope) history and uses
Boy’s Life magazine, December 1978 – Commando Rope uses
The Scouts later reworked the design to replace the toggle with a second eye. This may be due to the slight possibility that a toggle from one rope may disengage from the other rope accidentally. Sometimes a locking carabiner is used to connect the two ropes.
How to make a Buddy Rope (pdf) BuddyRope
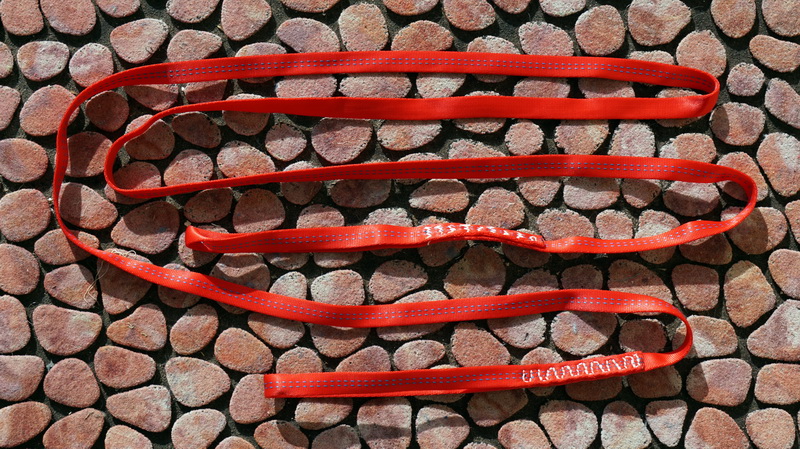
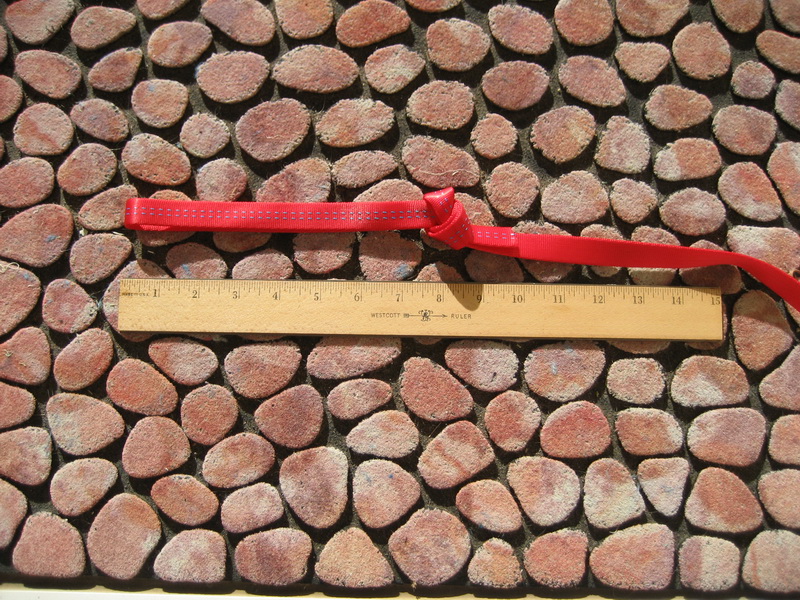
The Hiker’s Rescue Rope increased the size of the eye loop to be large enough to allow a hand or foot to be inserted. The current design uses Tubular Nylon Climbing Webbing instead of rope because of the ease of stitching webbing versus splicing modern-day braided synthetic rope.
If several members of a hiking group each carry a Hiker’s Rescue Rope then a long rope can be improvised at a moment’s notice.
NOTE: A solo hiker or a hike leader may prefer to carr a 25 foot rope instead of the 12 foot one described below, especially if no one else is carrying one.
How to make a Hiker’s Rescue Rope
Material:
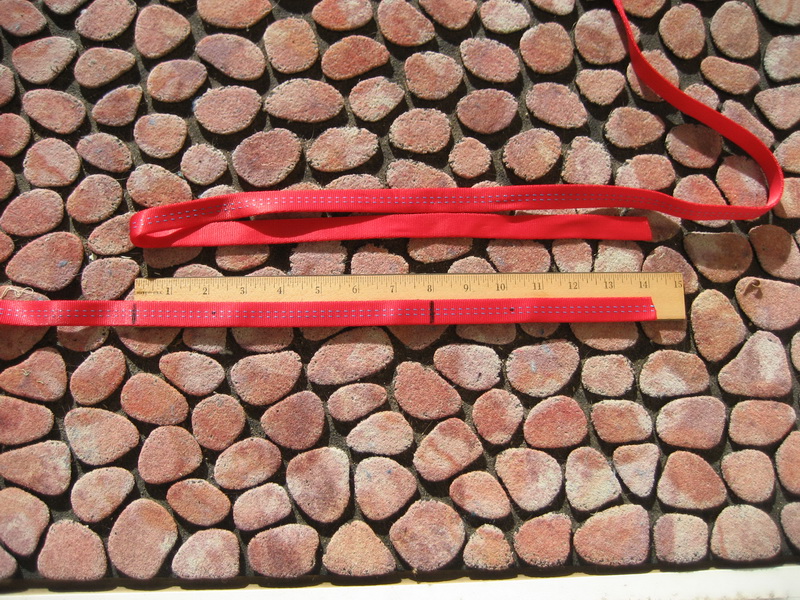
- Twelve (or twenty five) feet of tubular nylon webbing, 5/16th inch wide rated at 2,000 Lb strength or more.
- Nylon or Polyester thread, Sailmakers or Awning strength.
- Heavy duty sewing machine or hand stitching awl.
Construction:
- Mark the webbing at 4 inches and 12 inches from the end

- Fold the webbing 12 inch from each end.
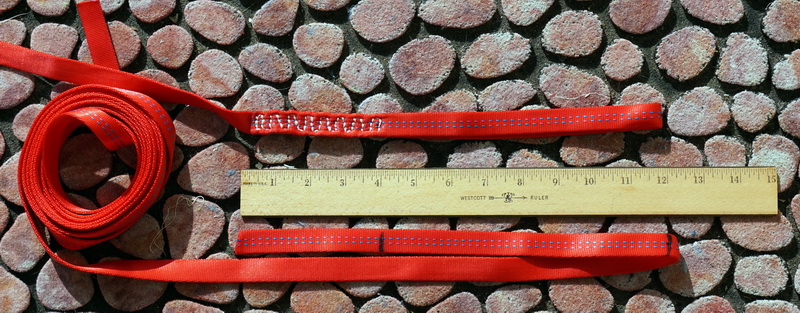
- Leaving 8 inches for the loop, stitch the last 4 inches in a series of ten bar tacks or complete zig-zag stitches.

- A recommend practice is to add a half-twist before sewing. The twist helps keep the loop open.
Alternative method – quick and easy
- Mark 14 inches from end
- Fold and tie Overhand Knot 8 inches from end. Ensure at least 2 inches of tail extends beyond knot. Pull to tighten knot securely.
Use:
- Around an anchor.
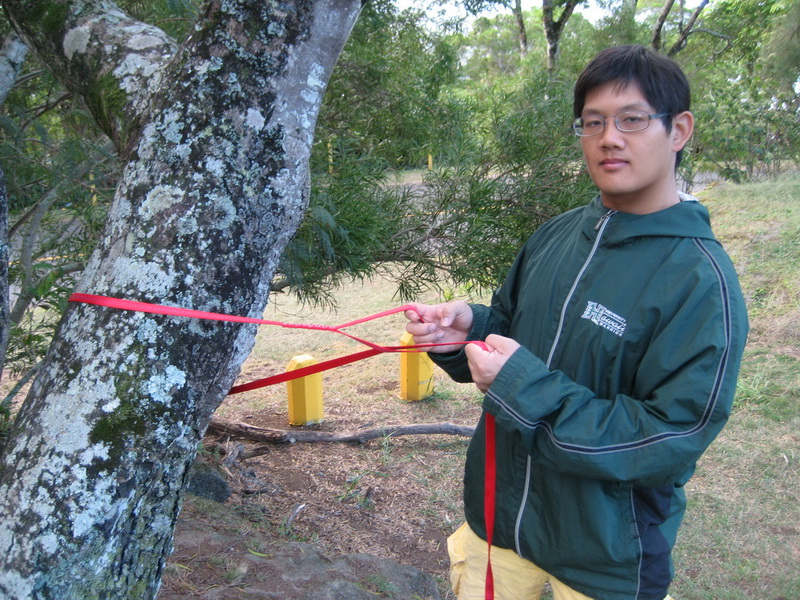
- Wrap rope around anchor and thread end through loop

- Pull end tight to secure it to anchor
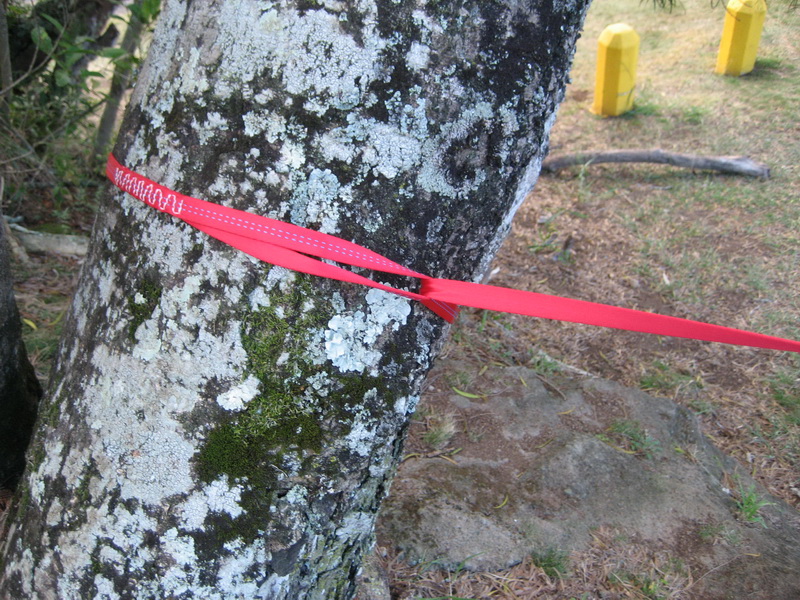
- Wrap around anchor – close-up
**********
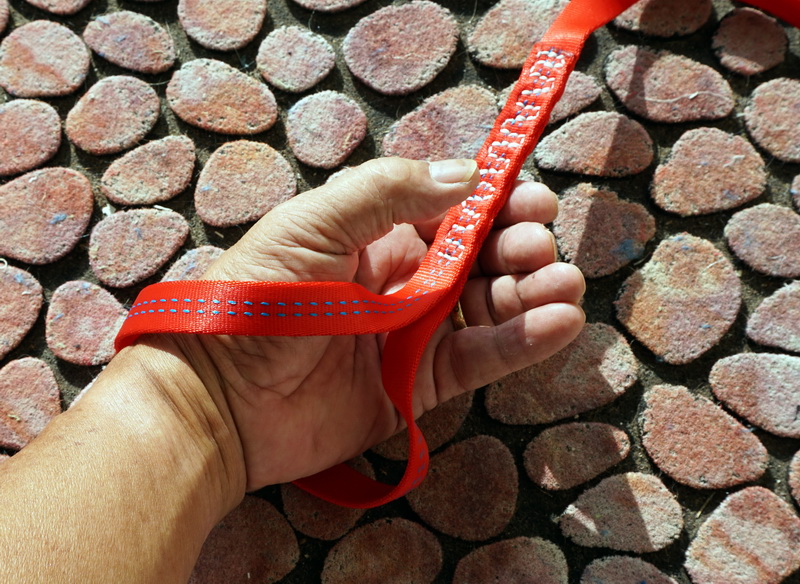
- Grasping the loop by hand.

**********
- Securing a foot in the loop.
**********
- Attaching two Ropes together securely.

- Thread first loop over the second
- Pull first end through second loop and tighten

Maintenance:
- Nylon deteriorated in sunlight (ultra violet light). Do not leave it exposed for extended periods.
- Wash webbing in cool water and air dry.
- Inspect and replace if it shows significant signs of wear.
=======
Jim Yuen, 2014- 2023
![]()